Overview
While you can upload any number of images, we recommend limiting each product to 8–10 photos for the best user experience. One image must be selected as the banner image, so make sure it meets the minimum dimension requirements.

To learn more about banner image requirements and guidelines, please click here.
How to Add or Change a Photo on a Tour
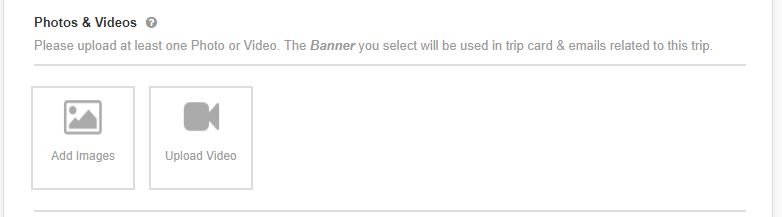
To add photos, go to Products > Trips, edit the trip, and under Basic Details scroll down to Photos & Videos, then click Add Images
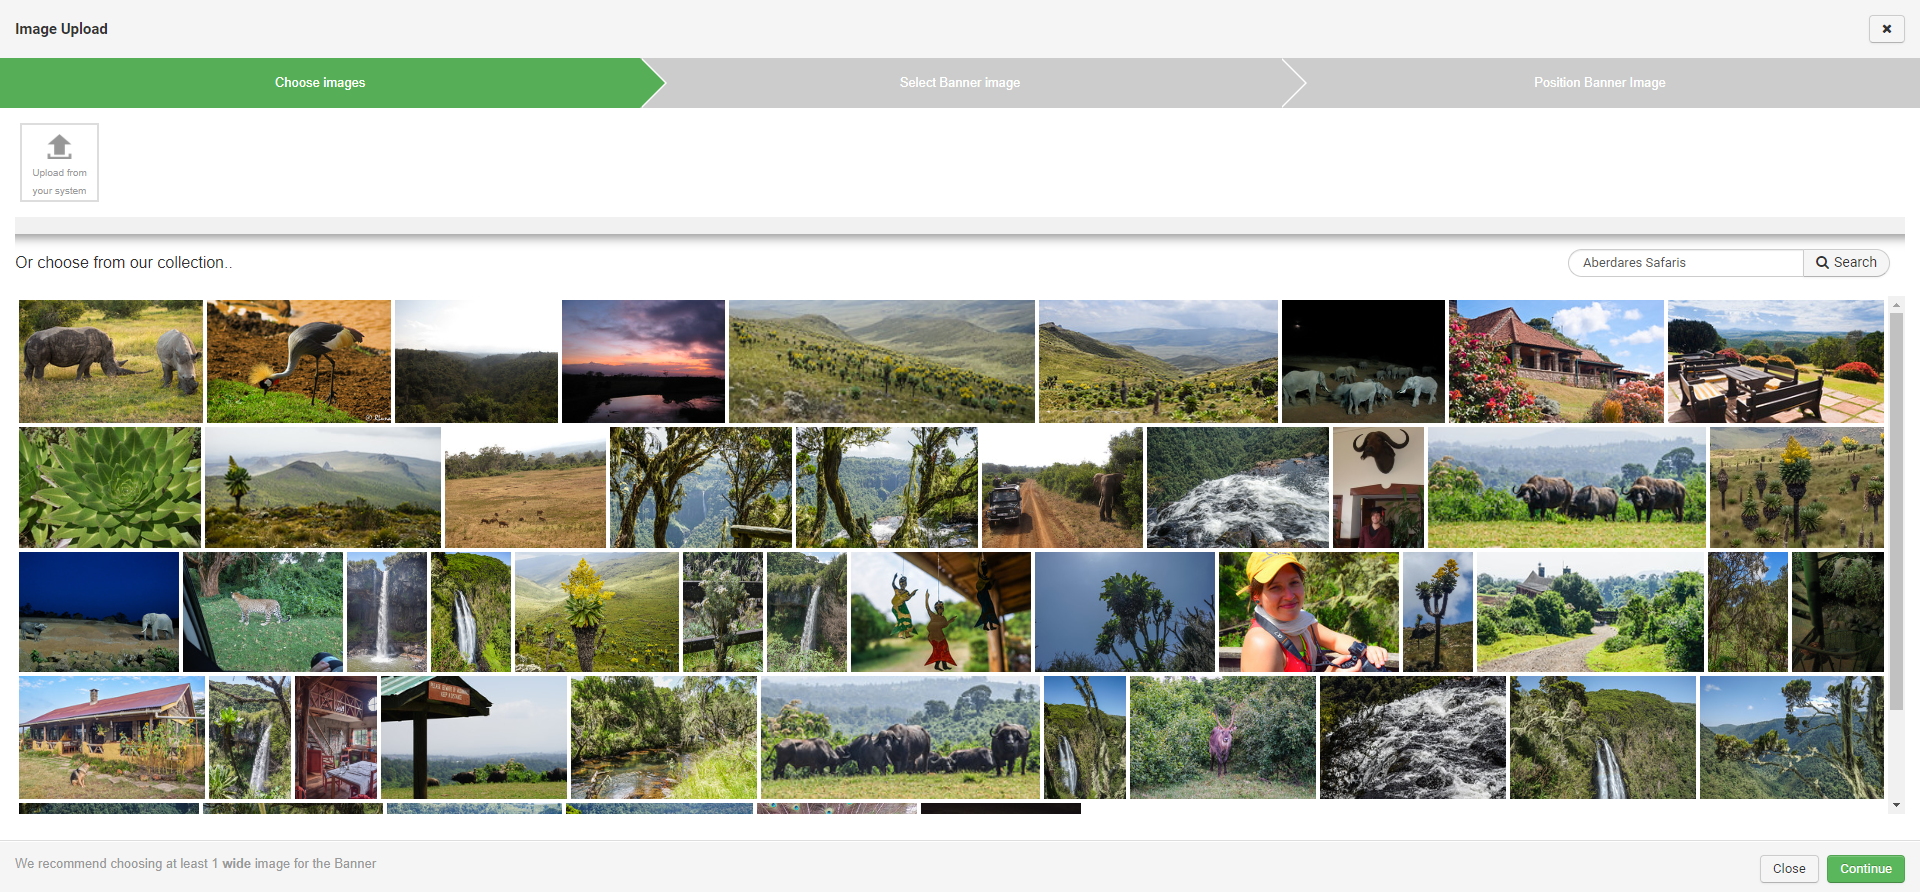
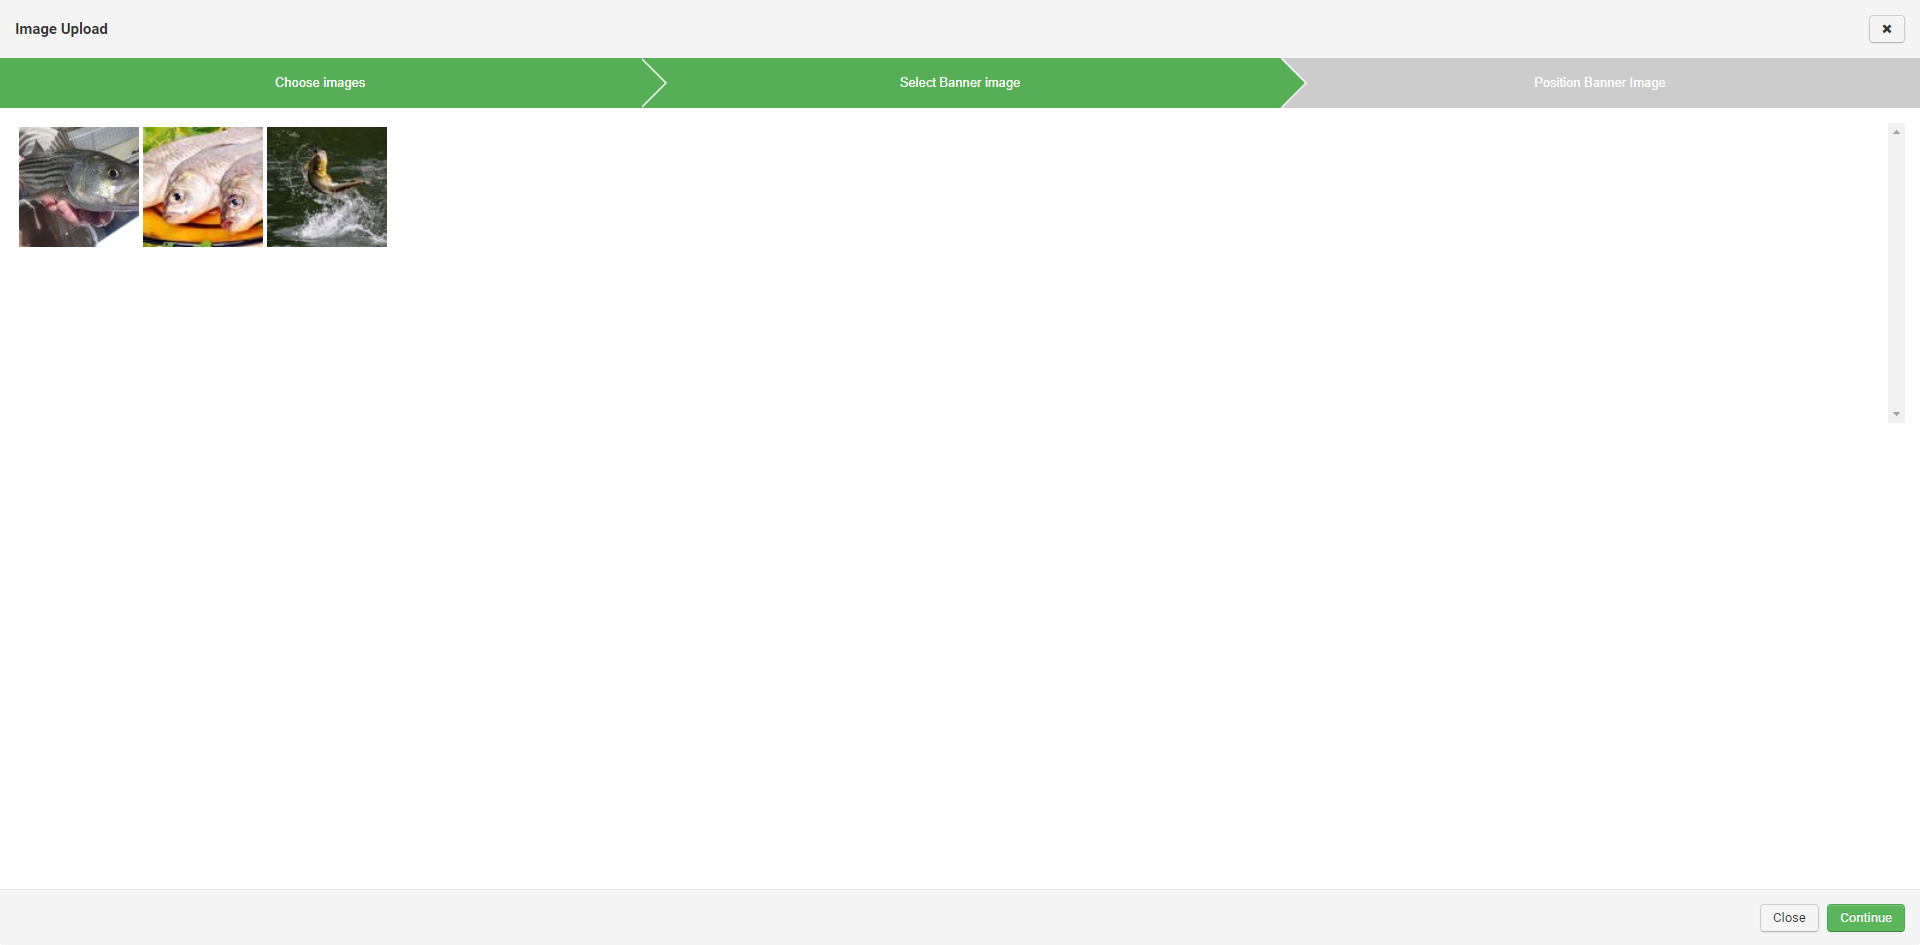
If you’re uploading from your computer, select Upload from your system and choose the images from your local device, or use the search option to find images on the internet, which will display results from our collection. After uploading, click Continue.
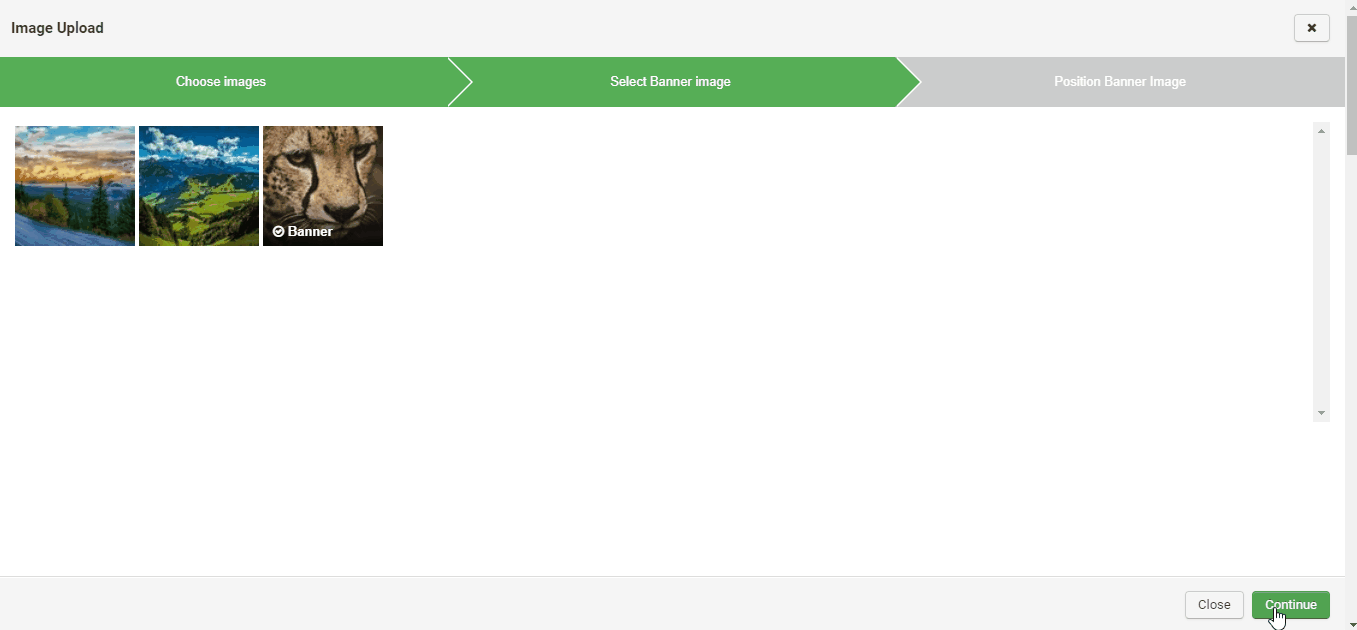
You can then set your banner image by selecting the desired photo, which will appear as the banner on the trip page, on the tour card, and in emails related to the trip.
Set the focus point for the banner image as needed, then click Save to ensure it displays properly across all devices.
To learn more about banner images and focus points, please click here.