Accessing the blog admin if your website is behind a CDN

You need to perform these steps ONLY IF If your website is being served on a CDN.
Quick overview
- Confirm that you are unable to access the blog's admin area
- Configure host entries using the manual method
- Add a local host entry to access the blog's admin area
- Clear your browser's DNS cache
- Verify that you are able to login to the blog's admin area
- Revert changes after making changes to your blog: Comment out the local host entry
- Configure host entries using the PowerToys tool
Verifying you can't access the blog's admin area
1. Go the blog admin login url (it should appear something like www.testsite.com/blog/wp-admin) and enter the ID and Password and try to login
2. You will either get a cookie error prompt (refer screenshot below)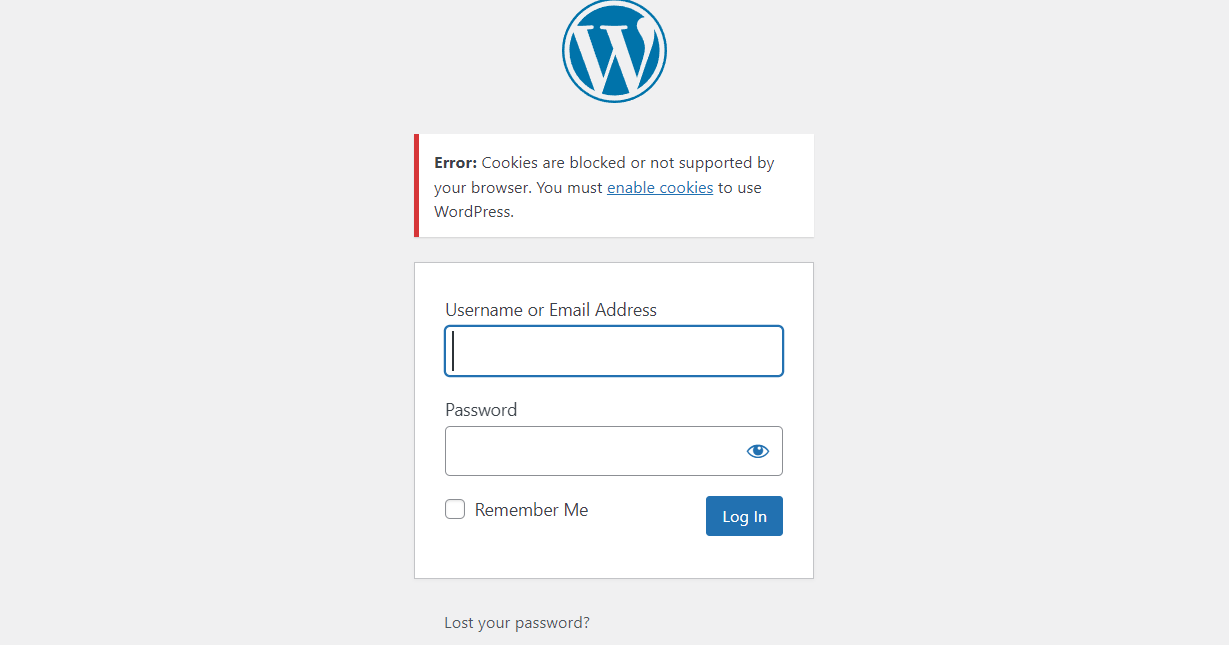
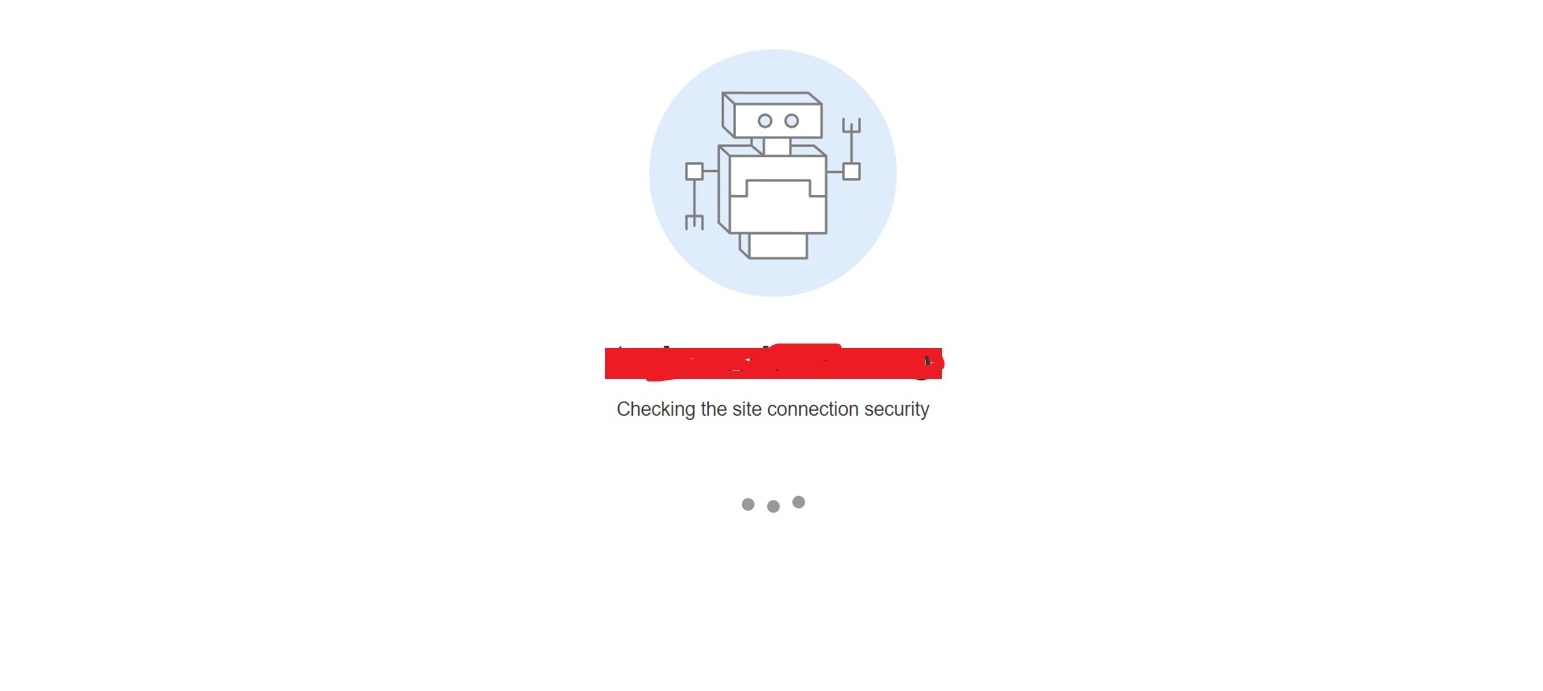
3. Or in place of the login page you will get a checking connection screen and it will stay on this screen without any redirection (refer screenshot below)
Please follow the steps given below ONLY IF you face the error demonstrated above
Configure host entries using the manual method
Adding Local Host Entry
Please follow the steps below to do so:
1. Navigate to C:\Windows\System32\drivers\etc folder
2. Inside the etc folder you will be able to see a file titled "hosts"
3. Click and drag this file on the homepage of your desktop and place it there
4. Open the hosts file with NOTEPAD and it will appear something like this
5. At the end of the file type the IP address you want to map, followed by a space, and then the hostname. (refer screenshot below)
Please ask the VL team for the IP address and hostname you need to add by reaching out at support@vacationlabs.com
6. SAVE the changes you have made to the file
7. Drag and drop the hosts file back to the etc folder.
Verify you can now enter the blog's admin panel
In order to check if the entries are working and you are able to enter the Blog admin panel, please follow the steps below:
- Type in the website name followed by /blog/wp-admin (For example - www.exampleabc.com/blog/wp-admin)
- The login page should appear something like this (refer screenshot below)
- If you are unable to access the blog's WP Admin even after creating a hosts entry, please confirm that you have tried reloading the WP login page by performing a hard-refresh on your browser (usually, the Ctrl+Shift+R).
- Enter the username and password and access your Blog Admin panel.
Revert changes after making changes to your blog
Removing the local host entry
1. Navigate to C:>Windows>System32>drivers>etc folder
2. Inside the etc folder you will be able to see a file titled "hosts"
3. Click and drag this file on the homepage of your desktop and place it there
4. Open the hosts file with NOTEPAD and it will appear something like this
5. Add a # in front of the IP Address and hostname you had entered earlier, this will turn it from an actual local host entry into just a comment,

And next time you can just remove the # and make it a local host entry again when you need to access the blog' admin area
6. SAVE the changes you have made to the file
7. Drag and drop the hosts file back to the etc folder.
Configure host entries using the PowerToys tool
The easiest way to configure host entries is by using the PowerToys tool for Windows. (Download it from here: https://microsoft-powertoys.en.softonic.com/download or directly from your Microsoft Store)
Open PowerToys and click on Hosts File Editor > Launch Hosts File Editor. Click on "New Entry" and configure the host entry.

Open PowerToys and click on Hosts File Editor > Launch Hosts File Editor. Click on "New Entry" and configure the host entry.
Set the Address as the IP address you copied and the Hosts value as yourdomain.com and www.yourdomain.com, as shown in the screenshot below, and then save.
After making changes to the blog, you can simply disable the host entry from the host file editor.
Related Articles
Adding a blog to your Vacation Labs website
Before you begin If hosting your blog on a subdomain, i.e. blog.yourdomain.com, is acceptable to you then nothing in this, and related, support articles applies to you. Please host your blog using any blogging platform (Wordpress, Ghost, Blogger, ...Setting up your website to be served via a CDN (Content Distibution Network)
Overview Advantages of Website being served via CDN Important caveats of using a CDN How to configure CDN BunnyCDN CloudFlare CDN Advantages of CDN Server being configured Improved Loading Speed: CDNs distribute your website's content across multiple ...Creating a Wordpress blog on Hostinger and linking it with your Vacation Labs website
Overview Before you begin - don't skip this section Sign up for a Hostinger plan Adding a website on Hostinger Deleting the WordPress installation to create a new installation in the /blog directory Installation of WordPress in the /blog directory ...How to edit/modify Footer in Vacation Labs
Along with your website header, the website footer is equally important for any website. It allows you to show a brief summary of all your website content in short. Most of the customer prefer website footer as the first place on your website to get ...How to manage themes on website?
Themes help you manage the overall look, feel and style of your website. This includes the Color scheme, Tour and Collection Cards, Website fonts, Header and Footer styles and many more. The theme basically represents your brand. This article will ...