Setting up Google Ads conversion tracking
You can use Google Ads conversion tracking to track actions that people take on your website after clicking one of your ads.
Overview
- Creating a Conversion Action
- Setting up Google tag in Vacation Labs
- Testing that conversations are being tracked
- Verify that the Conversion action is correctly configured
Creating a Conversion Action
Sign into your Google Ads account, click on the 'Goals' icon in the menu, and click on the 'New Conversion Action' button.
Then, select "Website".
Enter your website URL and click on "Scan".
Next, you can create a conversion action using one of the following methods:
- Use website events to create conversion actions
- Create them manually
In this case, we will show an example of how a booking confirmation page can be tracked using website events after a successful payment. To track a booking confirmation page, select the conversion goal as 'page view', choose the event type as 'page load', and to specify the URL keyword, click on 'see more settings'.
After clicking on "see more settings" under "event", select the URL contains option from Match when and enter the keyword '/confirmation' (without quotes). Additionally, you can edit the conversion name according to your requirements.
Next, select the value and enter the value that should be used for this conversion action.
Next, choose the count of how many conversions to count per click or interaction. And click on Done. After completing this step, click Save and continue to finalize the creation of the conversion action.
Setting up Google tag in Vacation Labs
Select "Set up with Google Tag" and click on "Setup".
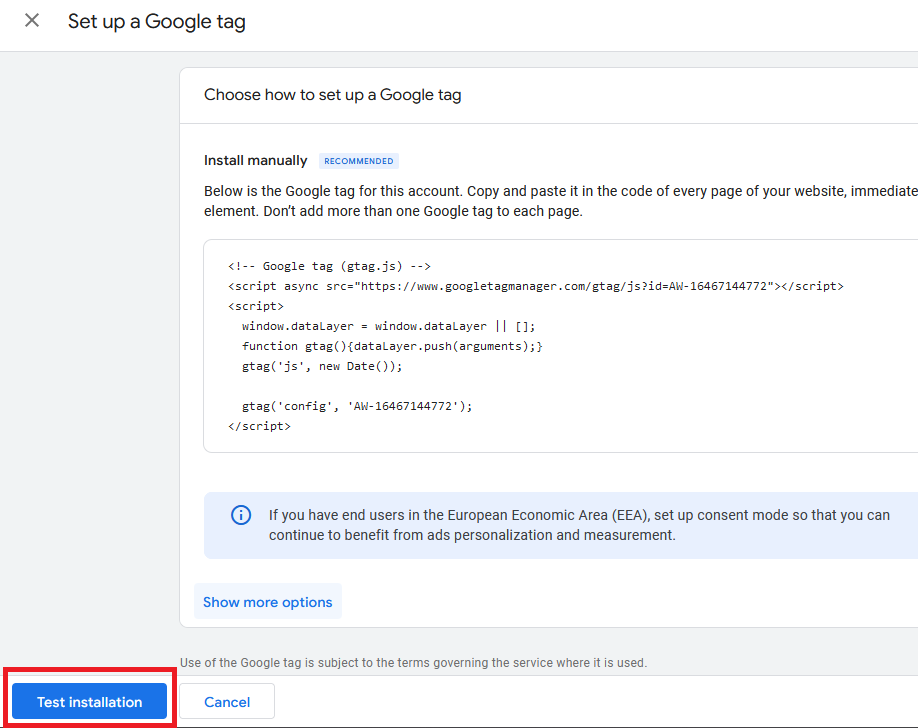
Next, Copy the Google Tag:
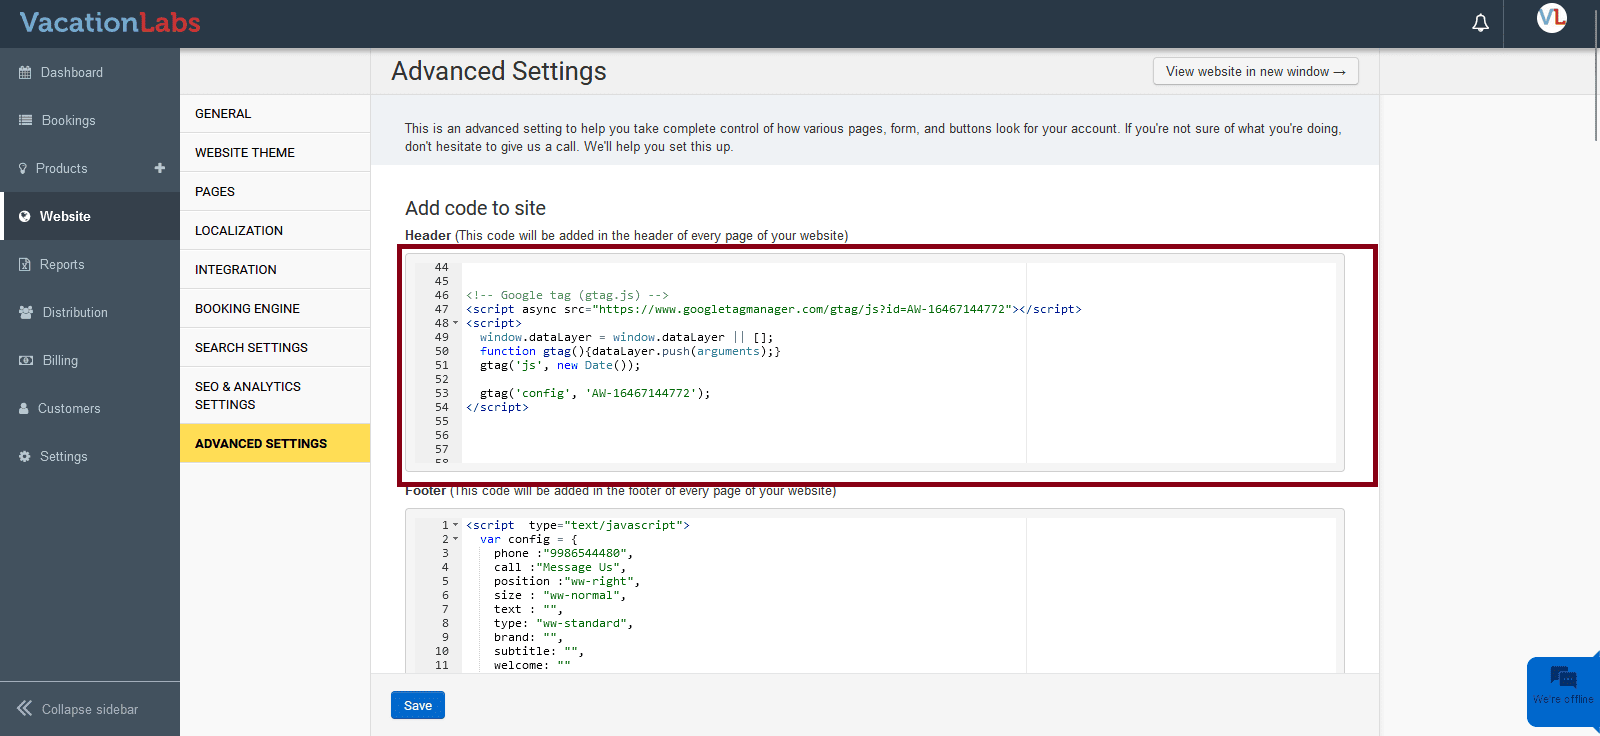
To paste the copied Google tag, navigate to the Vacation Labs login website, then go to Advanced Settings > Header. Paste the Google tag script here and save the changes.


Testing whether conversions are being tracked
To check whether the Google tag has been added to the website, you can click on the "Test installation" button.
If the Google tag is added correctly, it will show "Your Google tag was correctly detected on your website." Click on "Confirm" and click on "Done".
Now, you can see that the conversion action has been created.
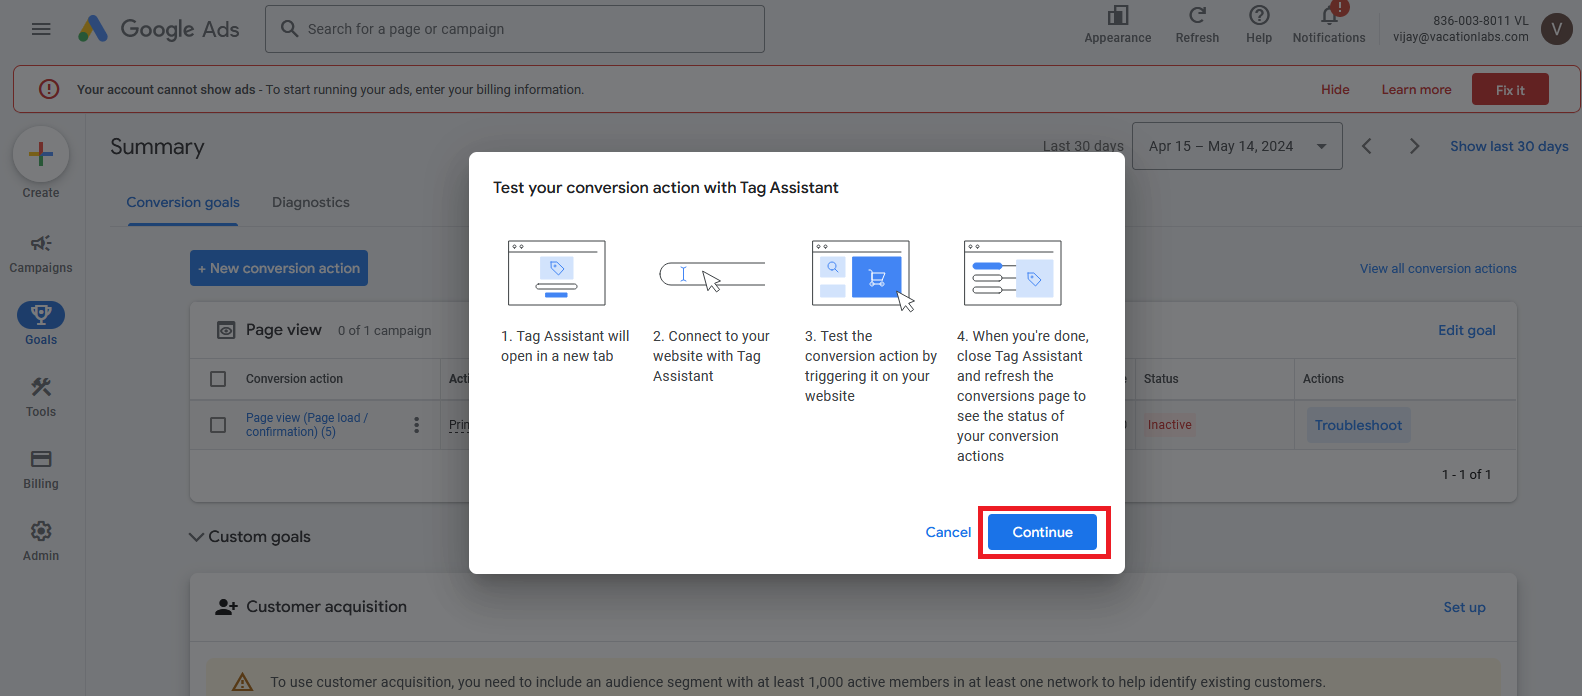
Once the conversion action is created, it will be in an inactive state. To activate it, you can either use the troubleshoot button, which will redirect you to Google Tag Assistant to perform an actual booking process, or wait until someone visits your page containing the tag, which usually takes up to 3 hours.
To activate the conversion action, click on the "Troubleshoot" button and then click on "Continue".

To activate the conversion action, click on the "Troubleshoot" button and then click on "Continue".
This will redirect you to the Google Tag Assistant page, where you can verify your website URL and then click on "Continue".
This will open your website in a new tab with Tag Assistant. Here, you need to navigate to any tour where you can perform an actual booking to activate the conversion action.
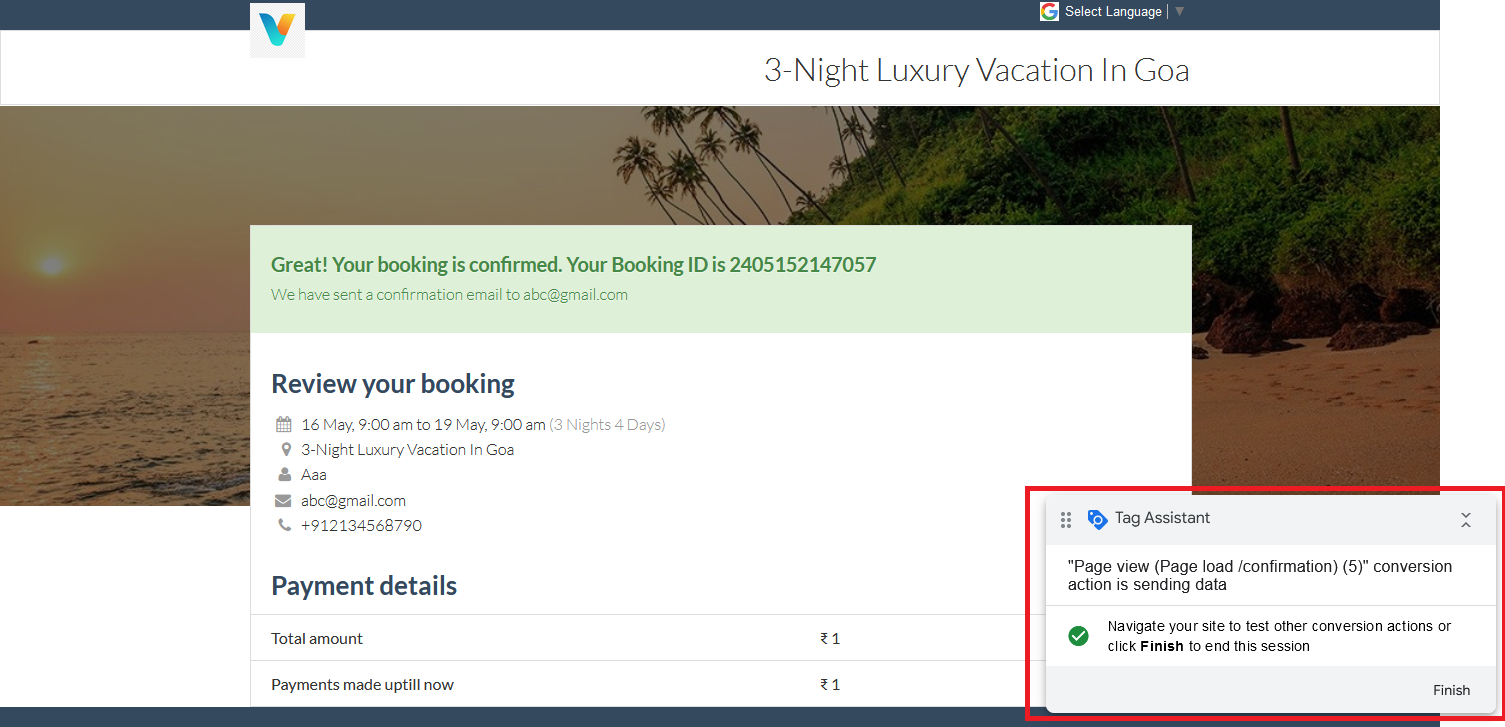
Navigate to a tour page, click on the "Book Now" button, and complete the booking process. Use any payment gateway to complete the payment, which will then redirect you to the booking confirmation page. The Tag Assistant will indicate that the Conversion action is sending data, and the conversion action will also activate. Click on 'Finish'.

Verify that the Conversion action is correctly configured
Once you have completed the actual booking flow using Google Tag Assistant, please click on Goals. If the conversion shows as 'no recent conversion,' it means the conversion action is in an active state.
Please note that the campaign should be enabled to record the conversions.
Related Articles
Setting up Meta Pixel for conversion tracking
Quick Overview Creating an event Installing pixel code to Vacation Labs Confirming that the Pixel is installed on the website Event setup Event testing Confirming that the event is being tracked Creating an event Login to your Meta business account ...JS Based Event Tracking
Overview For certain on-page events, which do not involve a complete page load, the event can be tracked using JavaScript. Currently four such on-page events are supported for event-tracking: Tour/popup inquiry form viewed Tour/popup inquiry form ...How to create Route Maps for itineraries via Google My Maps
Before you start Create a custom HTML section for the tour page. The field name can be designated as 'Route Map,' or you can opt for your preferred name for the custom field. Please click here for detailed steps on creating a custom HTML section. ...Removing Google Map from the tour pages
You can remove the Google Map directions from the tour pages by following the steps listed below: 1. Go into the Products section 2. Click on EDIT button of the tour in which you want to remove the Google Map 3. Go into the Location settings of the ...Disconnecting or changing the Google Analytics account
If a new domain/property has been created using the same gmail address which is already connected under SETTINGS To connect the new Google Analytics property, Login into Vacation labs Click on Website Click on SEO & Advanced Settings Now click on ...